Building a retaining wall on Long Island involves more than stacking wall stones. The soil, weather, and freeze‑thaw cycles can put a lot of pressure on the wall. That is why many projects use a geogrid retaining wall system for extra strength. A geogrid is a polymer grid that helps stabilize weak ground by locking aggregates in place.
In this guide, we break down a four‑part video series from Techo‑Bloc. You will learn the key steps of retaining wall construction and how a geogrid helps professionals build strong walls that last.
Part 1: Site Prep and Base Construction for Retaining Walls
The first step is to prepare the site and build a strong base. The crew starts by checking the job site. On Long Island, space is often tight, and there may be utility lines underground. Because the soil is clay, they mix in clean stone to make the base stronger. This helps handle freeze‑thaw weather.
Next, they build a sub‑base using 3/4‑inch clean stone. This layer is stabilized with Gator Grid for added strength. They also add a fabric layer to help move water away from the wall. Good drainage is critical for a long‑lasting wall.
Finally, they compact the base using heavy equipment. Proper compaction must reach about 98% density to prevent future movement.
Part 2: Setting the Base With a Laser Wall Screed System
Next, the team sets the base for the first course of blocks. It is set about one inch below the final height of the wall. To do this, the team uses a laser and wall screed system, which helps set the exact height across the whole site. The laser creates a fixed point, and pipes are adjusted until they hit the correct elevation.
Once the pipes are set, dense stone is placed and leveled between them to form the base. A thin bedding layer of #8 stone is then added on top, so the first course of blocks sits evenly and makes a strong connection.
Part 3: Retaining Wall Drainage, Backfill, and Geogrids
This step is where the wall gains its strength. The area behind the wall is filled with a 4-inch layer of clean stone. Then, they add densely graded stone and a drain pipe.
Next, the geogrid is installed. In this project, a biaxial grid from Alliance is used. The grid extends back into the soil to hold everything in place. Extra reinforcement is added under the steps to support the weight and prevent shifting.
Finally, the wall is built up with blocks, and the space behind it is filled and compacted in layers.
Part 4: Final Retaining Wall Construction and Finishing
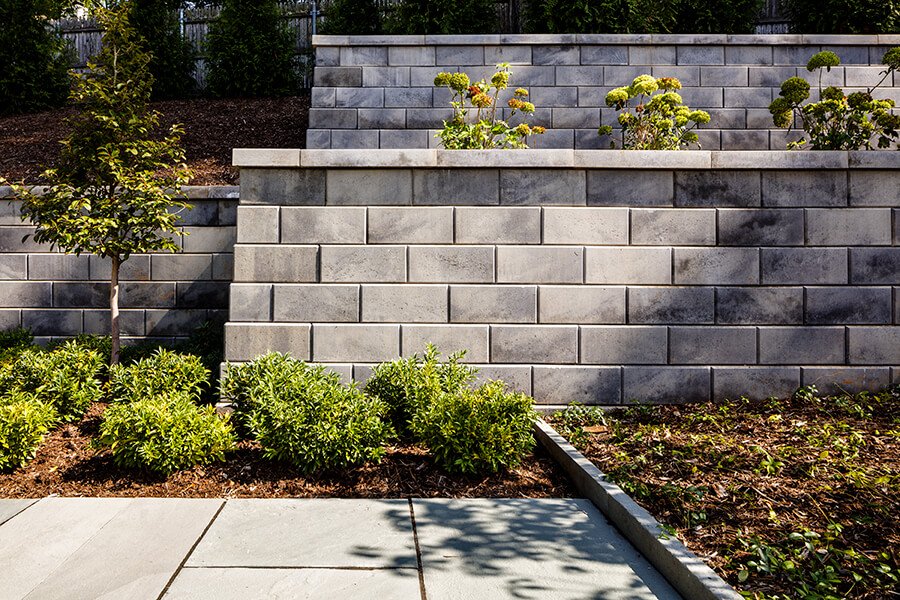
In the final step, the team installs the Techo‑Bloc G‑Force retaining wall blocks. These blocks measure about 18 inches wide and 8 inches tall.
The wall is built with a slight backward angle, called a setback, to help support the soil. The setback increases as the wall gets taller. Near the top, the wall becomes vertical for a clean, finished look.
The project also includes Techo-Bloc Raffinato Steps and Techo-Bloc Raffinato Cap in a modern color for style. Built‑in lighting is added to improve safety and appearance.
Planning A Retaining Wall on Long Island?
At Astro Masonry, we carry retaining wall blocks, aggregates, and tools for professional‑grade builds. This includes systems like Techo‑Bloc G‑Force, designed for geogrid-reinforced walls.
Visit our Deer Park, New York, showroom on Long Island to compare materials and finishes and get expert advice for your project. You can also request a quote online to get started.